 Save
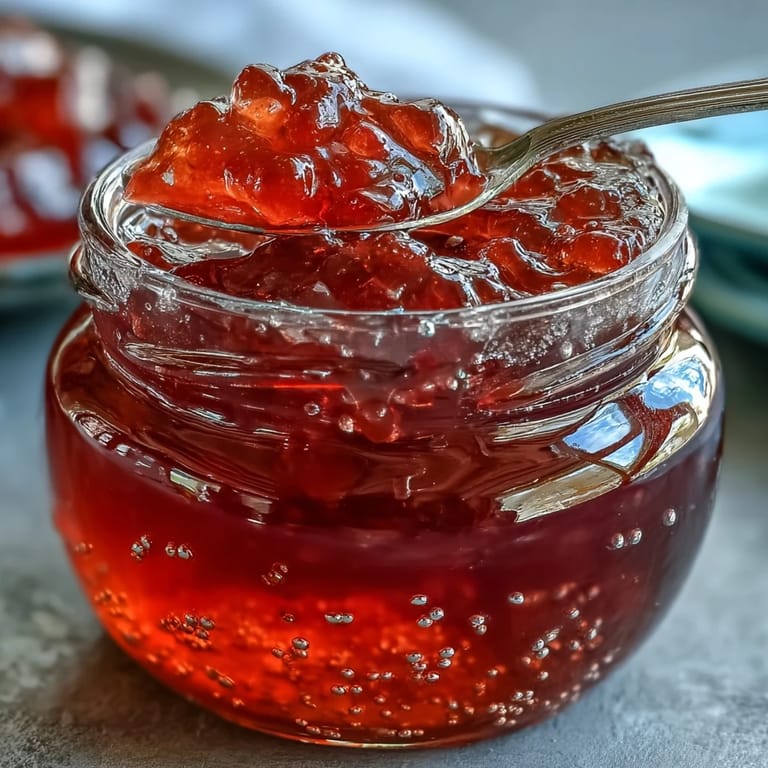
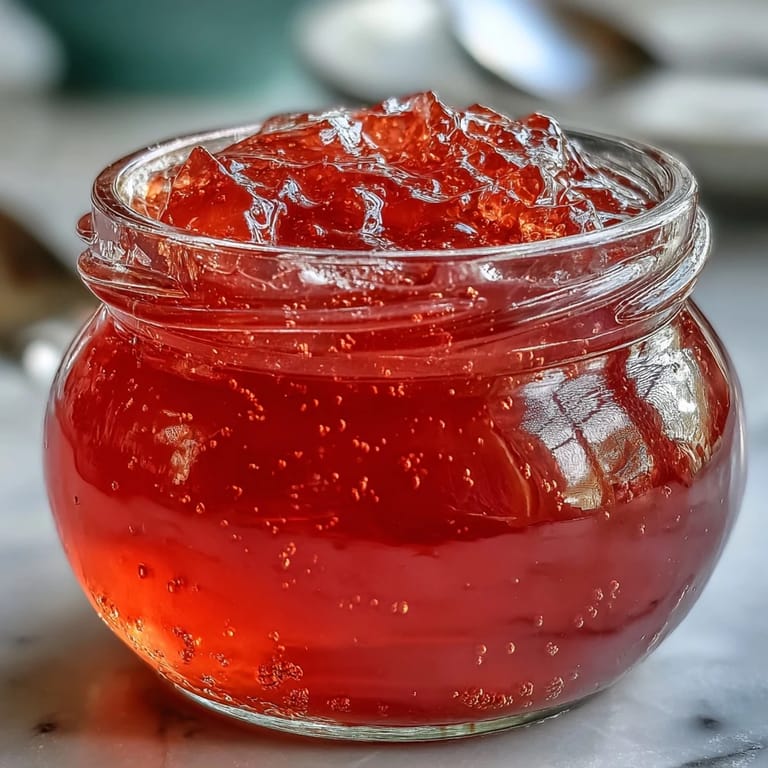
Save My neighbor handed me a bag of guavas one humid afternoon, their skin blushed pink and yellow, still warm from the tree. She mentioned in passing that her abuela made jelly from them, but never explained how. Weeks later, when I finally got curious enough to try, I discovered that patience is the real ingredient—not just the boiling, but the waiting, the dripping, the absolute restraint of not squeezing that cheesecloth when every instinct tells you to hurry. That first jar of ruby-red jelly caught the light on my shelf like liquid jewels, and suddenly I understood why she'd given me those guavas with such a knowing smile.
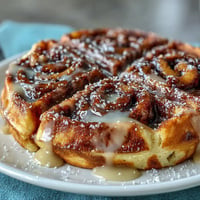
I made a batch for a friend's birthday potluck, baked into thumbprint cookies with the jelly still warm in the center. Watching people's faces light up when they bit through the buttery shortbread into that burst of guava flavor—that's when I realized this wasn't just a preserve, it was an edible love letter. She asked for the recipe that same night, and now we text photos of our jars like we're comparing masterpieces.
Ingredients
- Ripe guavas (1.5 kg or about 3.3 lbs): Look for guavas that yield slightly to pressure and smell fragrant—this is where all your flavor comes from, so choose fruit that's ready to eat, not hard as rocks.
- Water (4 cups): This gently extracts the juice and pectin from the fruit without overwhelming the delicate guava taste.
- Granulated sugar (4 cups): Measure it after you've made your juice, because you'll use equal parts sugar to juice—this ratio is what transforms liquid into jelly with that perfect wobble.
- Lemon juice (2 tbsp): The acid brightens the guava and helps the jelly set properly, acting almost like a secret ingredient that no one will notice but everyone will taste.
Tired of Takeout? 🥡
Get 10 meals you can make faster than delivery arrives. Seriously.
One email. No spam. Unsubscribe anytime.
Instructions
- Prepare your guavas:
- Wash them under cool water, rubbing away any dirt with your thumb, then quarter them without peeling—the skin and seeds contain precious pectin that you need for setting. Don't overthink it; rough cuts are fine.
- Simmer the fruit:
- Tumble those quarters into a large saucepan with the water and let it bubble away over medium heat until the kitchen smells like tropical fruit and the guavas are so soft they're falling apart. This takes about 30 minutes and is honestly the most forgiving part of the whole process.
- Extract the juice patiently:
- Line your strainer with two layers of cheesecloth and let the hot fruit drip naturally into a bowl below—this is the hardest part because you'll want to squeeze out every last drop, but resist. Patient dripping gives you clear, gorgeous jelly; squeezing gives you cloudy results that taste just as good but look less impressive.
- Measure and combine:
- Once you have your juice measured, add an equal amount of sugar to a clean saucepan along with the lemon juice. Stir it over high heat until the sugar dissolves completely and the mixture is boiling actively.
- Reach gel stage:
- Now you're boiling it hard and fast, skimming off foam as it bubbles up, watching for that moment when the thermometer hits 220°F (104°C). This usually takes 15 to 20 minutes, and the smell becomes almost intoxicating—pure, concentrated guava sweetness.
- Test for doneness:
- Drop a small spoonful onto a cold plate (chill it first in the freezer), let it cool, then push it gently with your finger. If it wrinkles and holds its shape, you're done; if it's still liquid, keep boiling and test again in a few minutes.
- Jar and seal:
- Pour the hot jelly into sterilized jars while it's still steaming, leaving about a quarter inch of headspace at the top. Seal the lids immediately, and they'll pop and seal as they cool, which is oddly satisfying.
- Cool and store:
- Let the jars rest at room temperature overnight before moving them to a cool, dark place. The jelly continues to set as it cools, becoming firmer and more luxurious over the next day or so.
 Save
Save There's something sacred about the moment you open a jar you made months ago and it's still perfect—the color hasn't faded, the flavor hasn't weakened. You remember exactly when you made it, what the weather was like, maybe who you were thinking about while you waited for that juice to drip. That's when a preserve becomes a memory you can actually eat.
Choosing Your Guavas
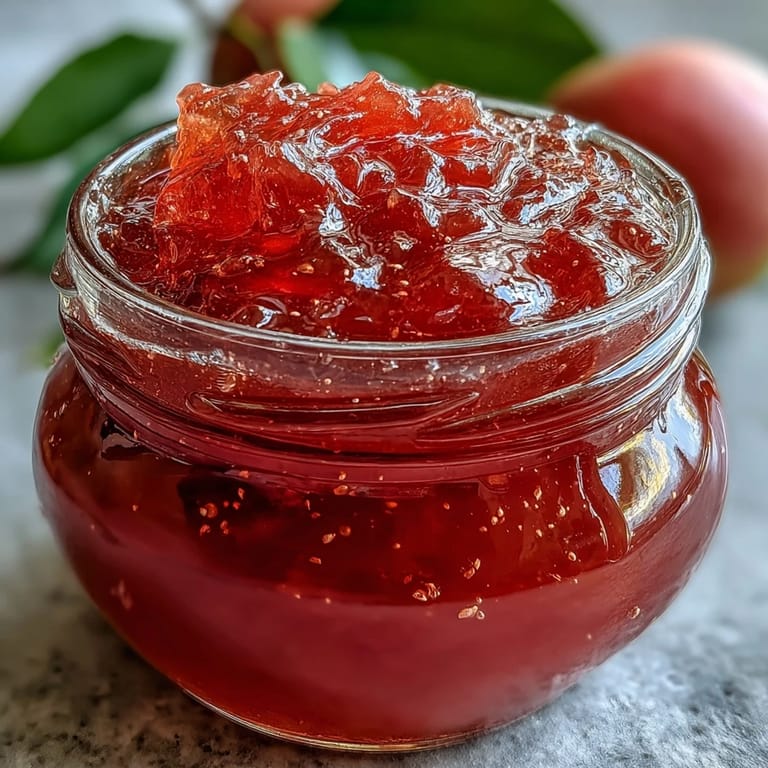
The quality of your guavas determines everything—their ripeness, their fragrance, even their color in the final jelly. I've learned to shop for guavas the way I shop for avocados, squeezing gently and smelling them first. Pink varieties tend to make more vividly colored jelly than the white-fleshed ones, though both taste incredible. If you can only find underripe guavas, they actually contain more natural pectin, which means your jelly sets more reliably without needing to cook it down quite as long.
The Waiting Game
Most recipes skim over this, but the draining step is genuinely the heart of the process. I usually set up my strainer in the evening, drape it with cheesecloth, and let it work overnight while I sleep—by morning, I have the clearest, most jewel-like juice waiting for me. The longer you wait, the clearer it becomes, and you might be surprised by how much liquid emerges from what seems like a spent fruit pulp. Overnight draining means you're not staring at the clock wondering if you've waited long enough; you've simply given it the time it deserves.
Uses Beyond Toast
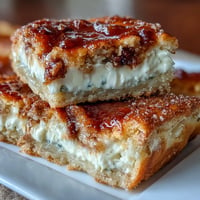
Once you have jars of guava jelly, the real creative fun begins. I've swirled it into the centers of thumbprint cookies, used it as a glaze brushed over roasted ham, and even stirred a spoonful into sparkling water for a quick afternoon drink. It melts beautifully into yogurt, creates an elegant topping for cream cheese and crackers, and transforms a plain vanilla cake into something that tastes like it came from a bakery. The possibilities feel endless once you realize it's not just a spread—it's a flavor amplifier.
- Spread it between layers of a vanilla cake with buttercream for an instant fancy dessert that feels homemade in the best way.
- Stir a spoonful into plain Greek yogurt with granola for breakfast that tastes like you planned something special.
- Pair it with soft cheese and good bread for the kind of snack that makes an ordinary moment feel a little more civilized.
 Save
Save Making guava jelly feels like capturing summer in a jar, preserving not just fruit but the moment you decided to try something new. Whether it ends up on toast or tucked into cookies, it becomes a small, delicious proof that you can turn simple ingredients into something extraordinary.
Recipe FAQs
- → How do I know when the jelly is ready?
The jelly reaches the proper consistency when it registers 220°F (104°C) on a candy thermometer. You can also perform the plate test: place a small spoonful on a cold plate and push it with your finger. If the surface wrinkles, it's ready to jar.
- → Why shouldn't I press the fruit while straining?
Pressing or squeezing the cooked fruit releases particles and sediment into the juice, resulting in cloudy jelly. Letting it drip naturally through cheesecloth for several hours produces the crystal-clear, jewel-like appearance.
- → Can I use overripe guavas?
Slightly underripe guavas actually work best because they contain more natural pectin, which helps the jelly set properly. Overripe fruit may result in a softer final product that doesn't hold its shape as well.
- → How long will this keep?
Properly sealed and sterilized jars can be stored in a cool, dark place for up to a year. Once opened, keep the jar refrigerated and use within three weeks for best quality and flavor.
- → What can I use this jelly for?
Spread it on toast or biscuits, use it as a filling for thumbprint cookies, glaze pound cakes or cheesecakes, swirl into yogurt, or pair with soft cheeses on a charcuterie board for a sweet-tropical contrast.