 Save
Save My grandmother kept a designated broth bag in her freezer, a crinkled plastic vessel that slowly filled with carrot tops, onion skins, and celery ends throughout the week. There was something almost sacred about watching those humble scraps transform into something that could heal and comfort. I've carried that practice into my own kitchen, though my broth bag lives in a Mason jar now. The magic never fades watching vegetable trimmings turn into golden liquid.
Last winter, when my partner came down with a terrible cold, I made batch after batch of this broth. We sipped it from mismatched mugs while watching snow pile up outside the window, and somewhere between the steam and the simplicity, it felt like the most nourishing medicine imaginable. That week taught me that the best recipes aren't always the most complicated ones.
Ingredients
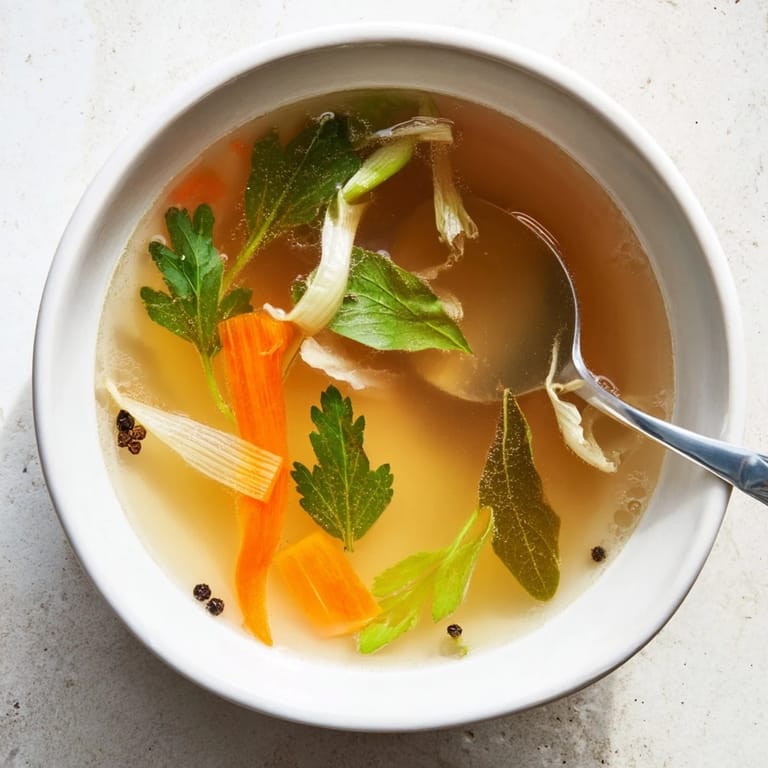
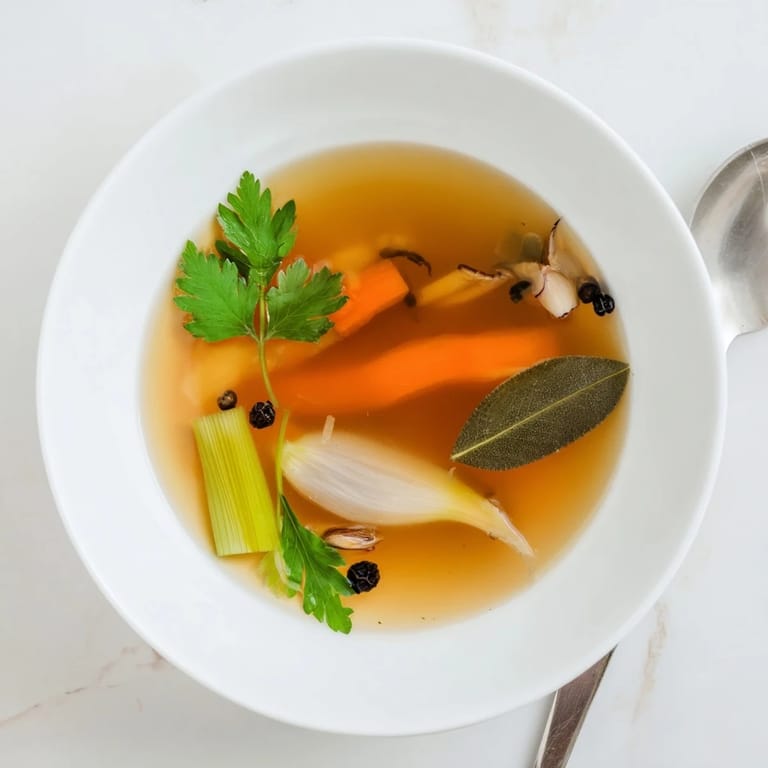
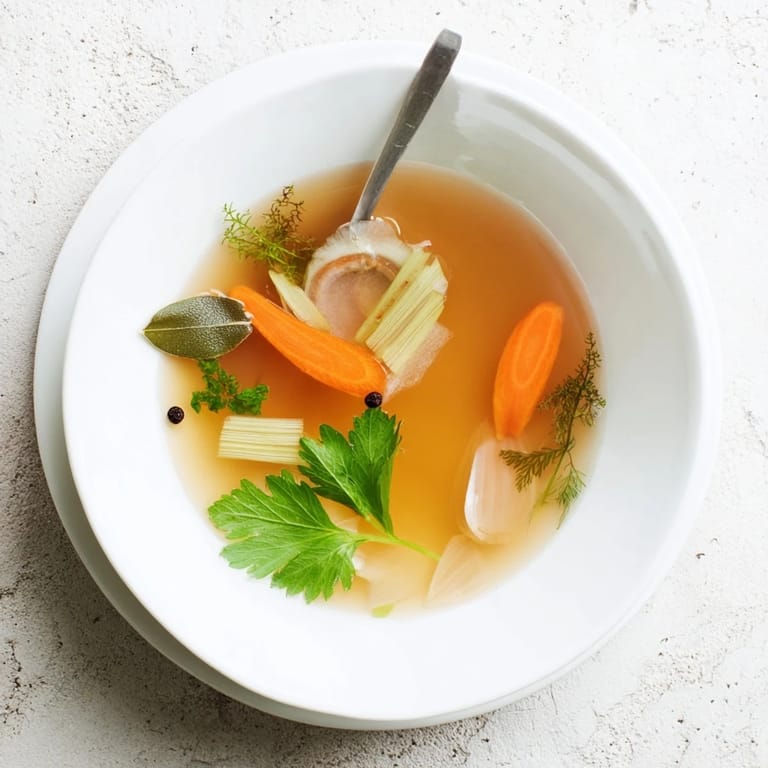
- Vegetable Scraps: 5 to 6 cups of assorted trimmings from carrots, onions, celery, leeks, mushrooms, garlic, and herbs work beautifully here. The variety creates depth, so don't worry about exact ratios.
- Bay Leaves: 2 whole leaves add that classic aromatic backbone that makes homemade broth taste professional.
- Black Peppercorns: 8 to 10 whole peppercorns provide gentle warmth without the harshness of ground pepper.
- Fresh Herbs: A handful of parsley or thyme sprigs brightens everything and cuts through the earthiness of the vegetable scraps.
- Cold Water: 2 liters (8 cups) of cold water extracts flavor more slowly and evenly than hot water, giving you a cleaner tasting broth.
- Salt: 1 to 2 teaspoons lets you season to taste, though I often add it at the end depending on how I'll use the broth.
Tired of Takeout? 🥡
Get 10 meals you can make faster than delivery arrives. Seriously.
One email. No spam. Unsubscribe anytime.
Instructions
- Gather Your Scraps:
- Collect about 5 to 6 cups of clean vegetable trimmings from your week's cooking, avoiding anything bitter like broccoli or cabbage family vegetables that can overpower the broth.
- Combine Everything:
- Place your scraps, bay leaves, peppercorns, herbs, and garlic into a large stockpot, then pour in the cold water until everything is submerged by a couple of inches.
- Bring to a Gentle Boil:
- Set the pot over medium-high heat and watch for the first signs of bubbling, then immediately reduce to maintain a gentle simmer rather than a rolling boil.
- Simmer Patiently:
- Let the broth simmer uncovered for about 1 hour, occasionally skimming off any foam that rises to the surface with a large spoon.
- Season and Strain:
- Taste the broth and adjust the salt if needed, then carefully pour it through a fine-mesh sieve or cheesecloth into a clean container, discarding the cooked vegetables.
 Save
Save This broth has become my go-to gift for friends who need a little comfort. There's something deeply personal about handing someone a jar of liquid that came from your kitchen scraps, as if you're sharing not just food but the philosophy that nothing good should go to waste.
Building Your Scrap Collection
I keep a designated bag in my freezer where I toss carrot peels, onion skins, celery ends, and herb stems throughout the week. When the bag is full, it's broth-making day. This rhythm has made me much more mindful of waste while ensuring I always have the makings of something delicious on hand.
Customizing the Flavor
Sometimes I add a piece of kombu seaweed or dried shiitake mushrooms for extra umami depth. A Parmesan rind transforms it into something surprisingly rich and savory. The beauty of this recipe is how it adapts to whatever you've been cooking, making each batch tell a different story.
Storing and Using Your Broth
I've learned to cool the broth completely before refrigerating, and I often freeze it in different sized containers so I have the right amount for whatever recipe I'm making. The broth keeps for about 5 days in the refrigerator or up to 3 months in the freezer.
- Label your containers with the date so you can keep track of freshness
- Freeze some in ice cube trays for small additions to sauces or grains
- Leave space at the top of containers since liquid expands when frozen
 Save
Save Every time I strain a batch of this golden broth, I'm reminded that the most nourishing things often come from the simplest beginnings. Here's to finding abundance in what we might otherwise throw away.
Recipe FAQs
- → What vegetable scraps work best for homemade broth?
Carrot peels, onion skins, celery ends, leek tops, mushroom stems, garlic skins, and parsley stems create the most flavorful base. Avoid bitter cruciferous vegetables like broccoli, cauliflower, and cabbage, which can overpower the delicate flavor.
- → How long does homemade vegetable broth last?
Properly cooled and stored in airtight containers, vegetable broth keeps in the refrigerator for up to 5 days. For longer storage, freeze in portion-sized containers for up to 3 months without losing quality or flavor.
- → Can I freeze vegetable scraps until I have enough?
Absolutely! Keep a large freezer bag and add clean vegetable trimmings as you cook. Once you accumulate 5-6 cups of scraps, you're ready to make a batch of broth. This method builds flavor variety and ensures nothing goes to waste.
- → What gives homemade broth better flavor than store-bought?
Fresh scraps retain more volatile oils and nutrients, creating deeper, more complex flavor. Simmering slowly with whole peppercorns, bay leaves, and fresh herbs extracts subtle notes that commercial versions lack. Plus, you control the salt content.
- → How do I use vegetable broth beyond making soup?
Use it to cook grains like rice, quinoa, or couscous for added depth. Deglaze pans after sautéing vegetables, thin sauces, or braise proteins. Sip it warm as a comforting drink, or reduce it into a concentrated glaze for finishing dishes.